
Well, here we are, going on four months into a pandemic and the world is finally starting to understand the role masks play in flattening the curve and keeping people healthy.
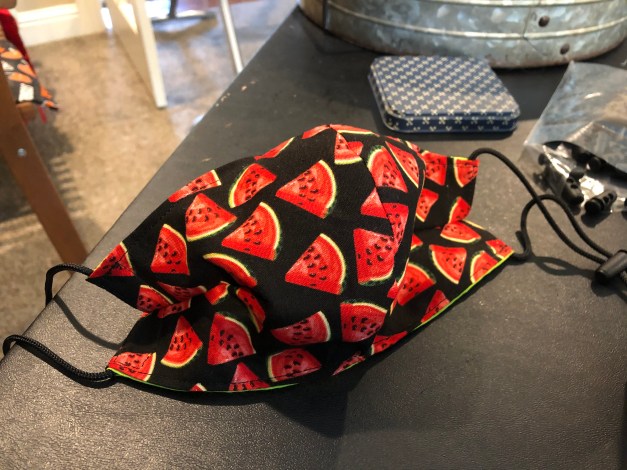
I’ve been making masks since early on and have progressed through three different patterns with many revisions and lessons learned as I’ve settled on this particular version. The mask fits nicely over the nose and under the chin, yet there is space around the mouth so you aren’t breathing in the material when you take a breath. In addition, I’m now using toggles and paracord for the ears….much more comfortable then elastic and very easy to adjust!
I’ve had lots of people asking for the pattern on Facebook so I figured a blog post would be the easiest way to link to the original pattern and give you my revisions. At this point I could almost make these in my sleep. Click here for the link to the pattern, posted by wholefully.com. The best instructions are in the post, the following pictures are for your reference and I’ll add a few suggestions for things that worked for me and a few things I did differently.
I will note first off that I added a seam allowance to the patterns in the post.
When I make the first seam I tend to start sewing with a half inch seam then taper it to a quarter inch. That tends to give the mask a little tuck at the top, which helps it stay on the nose.
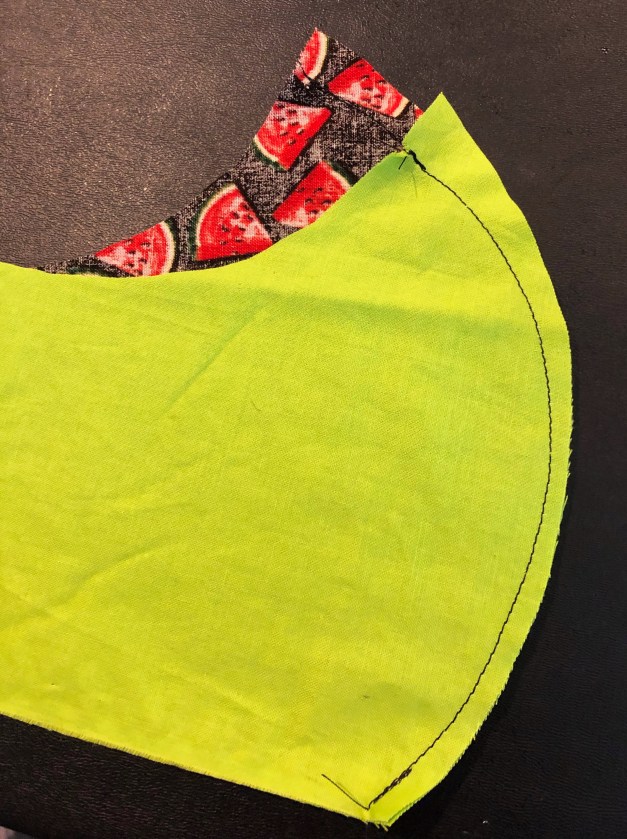
With right sides together, pin the two pieces together, leaving an opening along the bottom so it can be turned right side out.

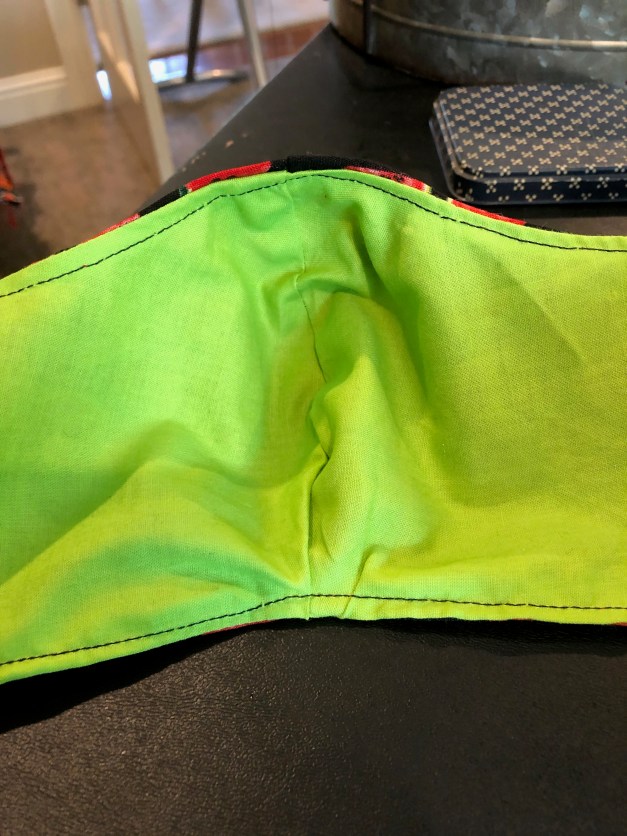
Sew along the edges with the exception of the opening. Turn and press, first the lining side then the outside. This makes it much easier to topstitch.


Topstitch all the way around. This will close the opening without having to hand stitch it closed.
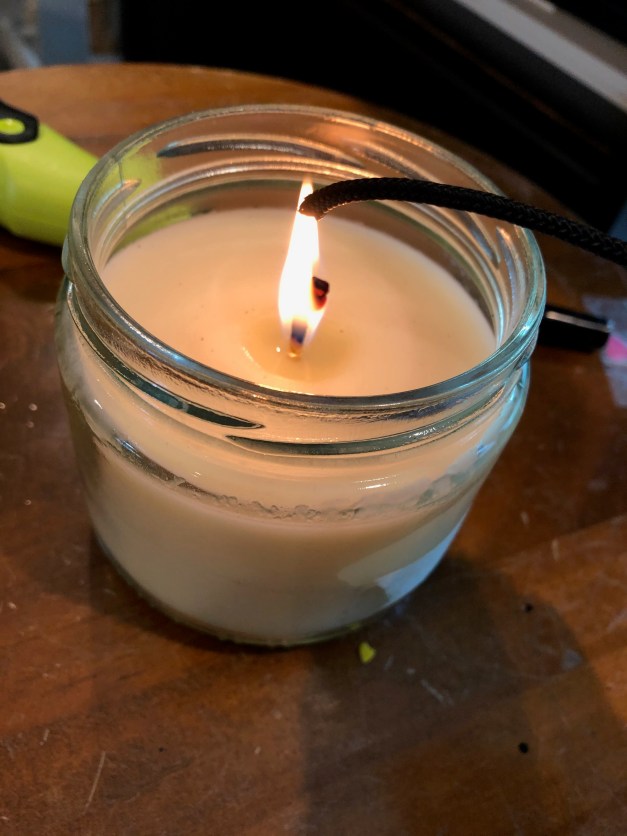
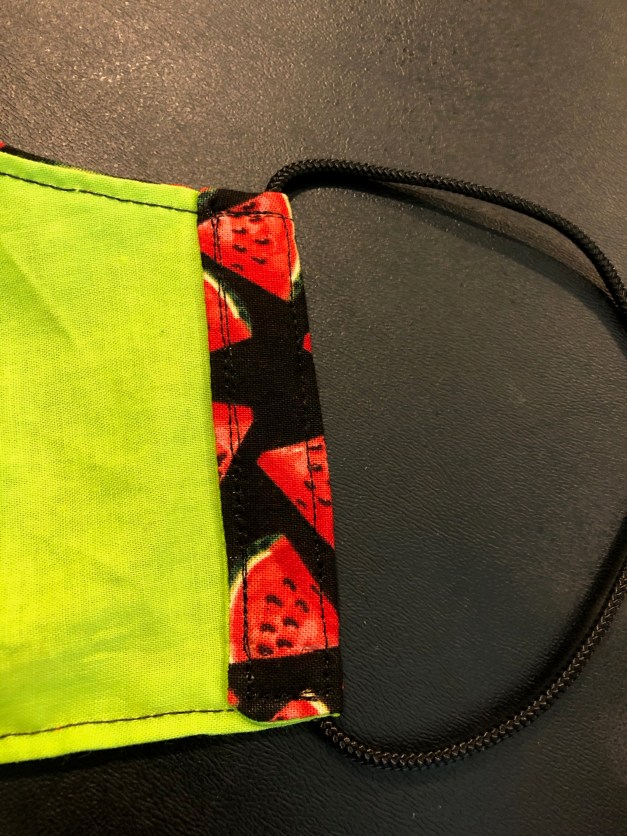
I cut 14″ pieces of parachute cord for the adjustable ear pieces and use toggles for adjusting. The cord is available at both Michael’s and Hobby Lobby, I haven’t checked at JoAnn’s but they probably have it. After cutting each piece put one end into a flame for about three seconds and sort of roll the hot end a bit so it tapers, making it easier to thread through the openings in the toggle. Click here to the link for the toggles. This Etsy company is very responsive and quick to ship. Once they were out of the toggles but quickly restocked.


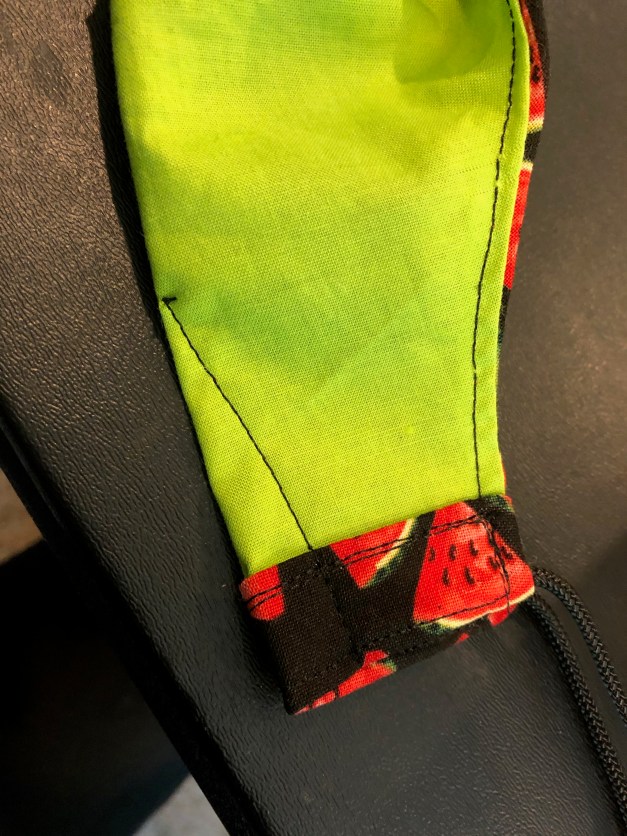
On each end of the mask, attach the cords by making a pocket. Tuck each end into the pocket and pin to keep the cord in place, keeping the cord at the very top of the pocket. Sew all the way around the pocket, making sure to sew through the cord to keep it in place.


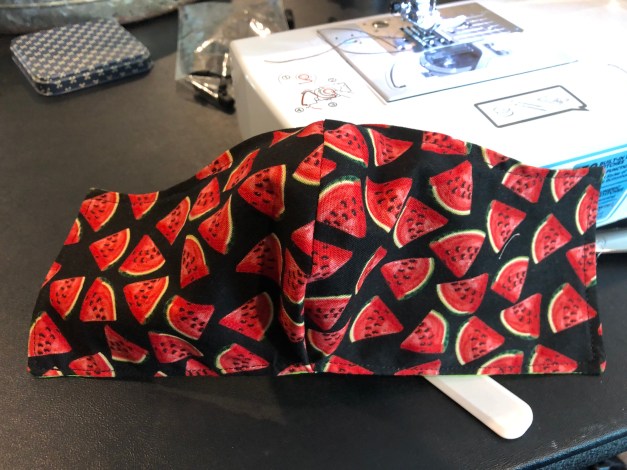
In order to keep the mask from gaping on the sides I also add a tuck. It’s a lot of layers to sew through and it seems like the tuck might bother one’s face but I have never noticed it when I’m wearing mine.
So there you have it. Now that I’ve made so many of these I can make one from start to finish in 15 to 20 minutes, depending upon if my machine and my sewing skills are cooperating. I used to be a big quilter but my Kenmore sewing machine that I’d used for decades didn’t survive on particularly bad move so I started this adventure with a brand new machine that had been in the box for four years! It was a steep learning curve!
My daughter-in-law says her glasses don’t fog up with this mask but for some, they do. To remedy that I hand sew a stainless steel nose piece on the outside of the mask that can be molded to the nose and can be washed right along with the mask in the washer. I do recommend air-drying the masks because of the plastic toggles. I will amend this post to add a link to those nosepieces once I figure out where I ordered them from!
Stay safe and stay healthy! And please, wear a mask when you’re out in public, especially when you’re in an enclosed space. The life you help save may be someone’s grandparent or someone whose health is vulnerable. And maybe it isn’t a life or death situation for the person who might catch the virus from you….but who wants anyone at all to be so sick?
Do it for your neighbor, do it for every stranger you come across, do it for me!

Dear Julianne. Good to hear from you/get yr mask directions. I have several: purchased, made by my sister & one from NKU. Really appreciate yr encouragement to wear one/ we’ve got to conquer this. Love to you, Jim & yr family from us. Rebecca & Don
LikeLiked by 1 person
GREAT job, I need to pull out my sewing machine and make some from your pattern. THANKYOU for sharing!! Bruce and I have worn a msk since the beginning; not fun, but NECESSARY!!!! Love you!!!
LikeLiked by 2 people
Wow. Thanks for this sweet post. You are doing great work. We have tried so many different types of masks……your kindness is wonderful.
LikeLiked by 2 people
I wish I’d have seen this when I was making masks back in April! I didn’t know what I was doing… this would have helped!
LikeLiked by 1 person
I’m late to seeing this post but am so very happy you are “creating”. And your message is truly lovely.
Miss you!!!
LikeLike
Thrilled to see a “like” from you this morning!
LikeLike